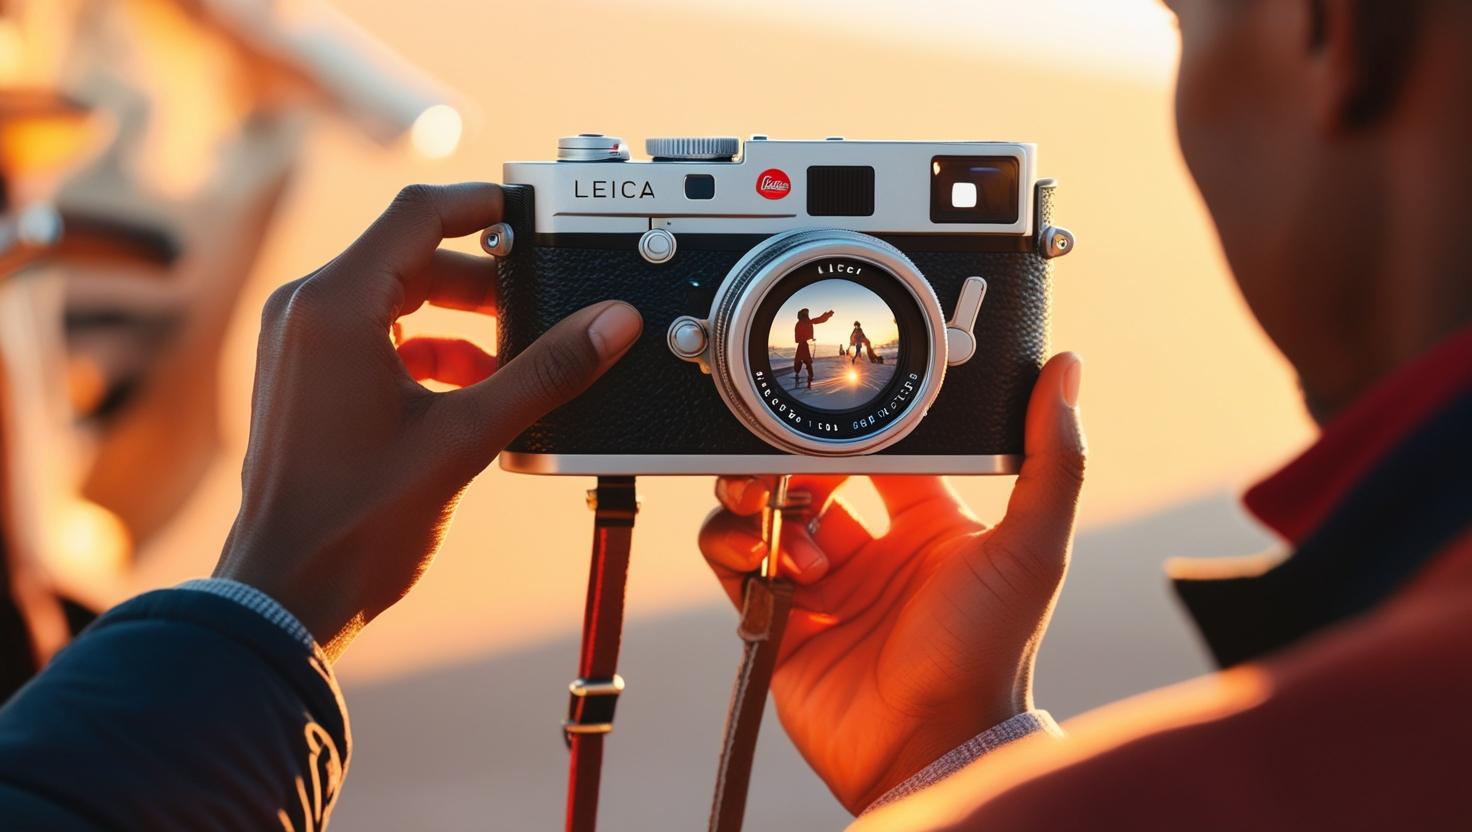
Taking pictures outside can be a rewarding experience, capturing the beauty of nature, architecture, and candid moments. However, one common challenge photographers face is dealing with overexposure, which can result in bright white images that lack detail and depth. In this comprehensive guide, we will explore various techniques and tips to help you take stunning outdoor photos without them being overly bright. How to Take Pictures Outside Without It Being Bright White
Introduction to Outdoor Photography
Outdoor photography offers endless opportunities to capture breathtaking scenes, from landscapes and wildlife to street photography and portraits. However, natural light can be both a blessing and a curse. While it provides beautiful illumination, it can also lead to overexposed images if not managed properly. Understanding how to control exposure and make the most of available light is essential for achieving well-balanced photos.
Understanding Exposure

Exposure refers to the amount of light that reaches your camera’s sensor. It is determined by three main settings: aperture, shutter speed, and ISO. These settings work together to control the brightness of your image. Proper exposure ensures that your photos have the right amount of light, preserving details in both the highlights and shadows.
1. Aperture
The aperture is the opening in your camera lens that controls the amount of light entering the camera. It is measured in f-stops (e.g., f/2.8, f/5.6, f/11). A lower f-stop number means a larger aperture, allowing more light to enter, while a higher f-stop number means a smaller aperture, allowing less light to enter.
2. Shutter Speed
Shutter speed refers to the length of time the camera’s shutter is open, allowing light to hit the sensor. It is measured in seconds or fractions of a second (e.g., 1/1000, 1/250, 1/30). A faster shutter speed allows less light to enter, while a slower shutter speed allows more light to enter.
3. ISO
ISO measures the sensitivity of your camera’s sensor to light. A lower ISO value (e.g., 100, 200) means lower sensitivity, resulting in less noise and finer details. A higher ISO value (e.g., 800, 1600) means higher sensitivity, which can be useful in low-light conditions but may introduce noise.
Tips for Taking Pictures Outside Without Overexposure

1. Use a Lower ISO Setting
One of the simplest ways to prevent overexposure is to use a lower ISO setting. In bright outdoor conditions, set your ISO to 100 or 200 to reduce the sensor’s sensitivity to light. This helps maintain image quality and prevents the photo from becoming too bright.
Anecdote: Imagine you’re at the beach on a sunny day, trying to capture the perfect shot of the waves crashing against the shore. By setting your ISO to 100, you can ensure that the bright sunlight doesn’t wash out the details in the water and sand.
2. Adjust the Aperture
Using a smaller aperture (higher f-stop number) can help control the amount of light entering the camera. For example, setting your aperture to f/8 or f/11 can reduce the risk of overexposure while maintaining a good depth of field.
3. Increase Shutter Speed
A faster shutter speed can prevent too much light from entering the camera. Experiment with shutter speeds like 1/500 or 1/1000 to capture sharp, well-exposed images in bright conditions.
4. Use a Polarizing Filter
A polarizing filter can reduce glare and reflections, helping to balance the exposure in your photos. It is especially useful for landscape photography, as it enhances colors and contrasts while preventing overexposure.
5. Shoot in RAW Format
Shooting in RAW format allows you to capture more data in your images, giving you greater flexibility in post-processing. RAW files retain more detail in the highlights and shadows, making it easier to correct overexposure in editing software.
6. Utilize Exposure Compensation
Most cameras have an exposure compensation feature that allows you to adjust the exposure settings manually. If your photos are consistently too bright, try dialing down the exposure compensation by one or two stops.
7. Find Shade or Use Diffusers
If the sunlight is too harsh, try finding a shaded area to take your photos. Alternatively, use diffusers or reflectors to soften the light and reduce the risk of overexposure.
Anecdote: Picture yourself taking portraits in a park on a sunny afternoon. By moving your subject under a tree or using a portable diffuser, you can create soft, even lighting that enhances their features without harsh shadows or bright spots.
8. Check the Histogram
The histogram is a graphical representation of the tonal values in your image. It helps you understand the exposure levels and identify any overexposed areas. Aim for a balanced histogram with peaks in the midtones and avoid spikes at the far right, which indicate overexposure.
Step-by-Step Guide to Taking Well-Exposed Outdoor Photos
Step 1: Set Your Camera to Manual Mode
Switching to manual mode gives you full control over the exposure settings. This allows you to adjust the aperture, shutter speed, and ISO to achieve the desired exposure.
Step 2: Choose the Right ISO Setting
Start by setting your ISO to 100 or 200 for bright outdoor conditions. This reduces the sensor’s sensitivity to light and helps prevent overexposure.
Step 3: Adjust the Aperture
Select a smaller aperture (higher f-stop number) to control the amount of light entering the camera. For example, set your aperture to f/8 or f/11 for well-balanced exposure.
Step 4: Set the Shutter Speed
Choose a faster shutter speed to limit the amount of light hitting the sensor. Experiment with shutter speeds like 1/500 or 1/1000 to capture sharp, well-exposed images.
Step 5: Use a Polarizing Filter
Attach a polarizing filter to your lens to reduce glare and reflections. This helps balance the exposure and enhances colors and contrasts in your photos.
Step 6: Check the Histogram
Review the histogram on your camera’s display to ensure a balanced exposure. Adjust the settings as needed to avoid overexposure and achieve a well-exposed image.
Step 7: Shoot in RAW Format
Set your camera to shoot in RAW format to capture more data and retain details in the highlights and shadows. This gives you greater flexibility in post-processing.
Step 8: Utilize Exposure Compensation
If your photos are still too bright, use the exposure compensation feature to dial down the exposure by one or two stops. This helps achieve the desired exposure without overexposing the image.
Frequently Asked Questions (FAQs)
1. How can I prevent overexposure in outdoor photos?
To prevent overexposure, use a lower ISO setting, adjust the aperture to a higher f-stop number, increase the shutter speed, use a polarizing filter, shoot in RAW format, utilize exposure compensation, find shade or use diffusers, and check the histogram.
2. What is the best ISO setting for outdoor photography?
For bright outdoor conditions, set your ISO to 100 or 200 to reduce the sensor’s sensitivity to light and prevent overexposure.
3. How does a polarizing filter help with outdoor photography?
A polarizing filter reduces glare and reflections, balances exposure, and enhances colors and contrasts in outdoor photos.
4. Why should I shoot in RAW format?
Shooting in RAW format captures more data and retains details in the highlights and shadows, giving you greater flexibility in post-processing to correct overexposure.
5. How can I use exposure compensation to improve my photos?
Exposure compensation allows you to manually adjust the exposure settings. If your photos are too bright, dial down the exposure compensation by one or two stops to achieve the desired exposure.
For more information on outdoor photography and exposure settings, you can visit Digital Photography School and Photography Life.